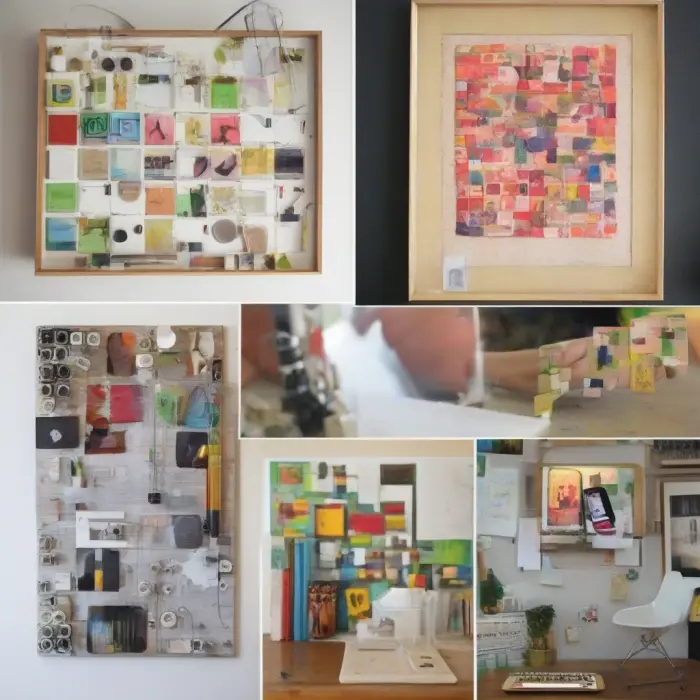
A useful art-and-technology project begins with a visual idea, not a shopping list. Choose a pattern, image or small object you want to develop, then select a tool that suits it. The following approaches offer different ways to experiment; the digital projects can also serve as prototypes before any physical fabrication.
Light painting with a camera
Light painting uses a long camera exposure while a moving light illuminates a subject or traces a path. Stabilize the camera on a tripod and use an ordinary flashlight in a clear working area. Try a simple arc or illuminate part of a still life, then inspect the result and adjust. Use battery-powered light rather than sparklers or flames; this project does not require pyrotechnics.
Digital painting in layers
For an illustration, place the sketch, color and background on separate layers. Krita’s documentation explains how the layer stack separates elements and controls their drawing order. This lets you revise a background without repainting the foreground. Save an editable working copy as well as the final exported image, so that experiments with composition remain reversible.
A small 3D-printed sculpture
Start with a simple digital shape and check it with the person operating the printer before fabrication. 3D printing builds objects layer by layer; it does not make every imagined design printable. NIOSH identifies emissions, hot surfaces and moving parts among the hazards. Use an appropriately managed workspace, material-specific procedures and effective emission controls rather than treating a printer as an ordinary desktop craft tool.
An image that responds to light
A responsive artwork needs a clear connection between an input and a visible change. The micro:bit sunlight-sensor project provides an example: its LEDs measure light, and the program displays an icon when a threshold is exceeded. Adapt the icon or test the idea in the provided simulator. Follow the device instructions if using hardware; no mains wiring is needed for this starting point.
A laser-cut pattern
Begin by designing a simple outline or repeating motif, then discuss the material and file requirements with a trained workshop operator. Laser cutting is not a casual substitute for scissors. MIT’s safety guidance emphasizes training, suitable ventilation, approved materials, intact interlocks and never leaving an operating cutter unattended. A paper mock-up can help refine the design before machine work.
Keep notes about what changed between attempts: lighting, layer arrangement, shape or interaction. That record makes the creative process easier to repeat and refine. The cover is a conceptual art-and-technology collage, not a technical diagram or a demonstration of a working device.

Discussion